I just wrote an article about my experience with remote work, which has been published here.
Category: Software
How to run Varying Vagrant Vagrants aka VVV on Windows 10
If you ever need to install Varying Vagrant Vagrants on Windows 10, this is what worked for me (three times on three different computers).
Tested with Windows 10 64bit, VirtualBox 5.0.20, Vagrant 1.8.4, Cygwin 2.5.1 and VVV 1.3.0.
Requirements
- Administrator privileges
- Good enough hardware
- Basic knowledge of VVV
- Basic knowledge of linux shell
- Patience
- Luck (or a bloody sacrifice to some dark god)
- User name that doesn’t contain spaces in
C:\Users\%YOUR_NAME%
Note: If you do have spaces in your username, Cygwin is going to create your home directory in C:\Cygwin64\%YOUR USERNAME% which will later cause problems with running Vagrant. So, right after installing Cygwin, you need to change your home directory to something without spaces and other controversial characters.
Steps to follow
- Install Virtualbox.
- Install Vagrant.
- Install Cygwin.
- While installing, select (at least) these additional packages:
git,curlandnano. - Choose to create the desktop shortcut.
- While installing, select (at least) these additional packages:
- Install the Microsoft Visual C++ 2010 SP1 Redistributable Package (x86) and don’t ask me why.
- Locate the file
C:\Windows\System32\drivers\etc\hostsand change its privileges so that you (the current user) can read and write to it. - Open Cygwin and continue working in the terminal.
- Get VVV:
git clone https://github.com/Varying-Vagrant-Vagrants/VVV.git - Adjust the Customfile to get over a nasty Vagrant/Windows issue:
cd VVV
nano Customfileand then add these two lines to the Customfile:
config.vm.box = "trusty32"

config.vm.box_url = "https://cloud-images.ubuntu.com/vagrant/trusty/current/trusty-server-cloudimg-i386-vagrant-disk1.box"
and save with Ctrl+O, Ctrl+X. - Install the hosts updater plugin:
vagrant plugin install vagrant-hostsupdater. - Install the triggers plugin:
vagrant plugin install vagrant-triggers. - Start the whole thing by
vagrant up. - Go grab a coffee or six, it will take a while even if your hardware is good.
- Let me know how it worked for you.
Disable captive portal detection on elementary OS Freya
Freya comes with a captive portal assistant that tries to help you to login (accept ToS) on public networks (like Wifi in a café, etc.). When you connect to such network, a new window opens with what Freaya thinks is the portal website. Actually, it opens https://elementary.io/ and expects it to be redirected to the portal.
However useful it can be for most people, in some situations you may wish to disable this feature. It is very simple, but difficult to find out. Just run this command:
sudo chmod -x /etc/NetworkManager/dispatcher.d/90captive_portal_test |
And that’s it!
Reference: https://bugs.dogfood.paddev.net/elementaryos/+bug/1039042
Guide to dark GUI in elementaryOS and Lubuntu
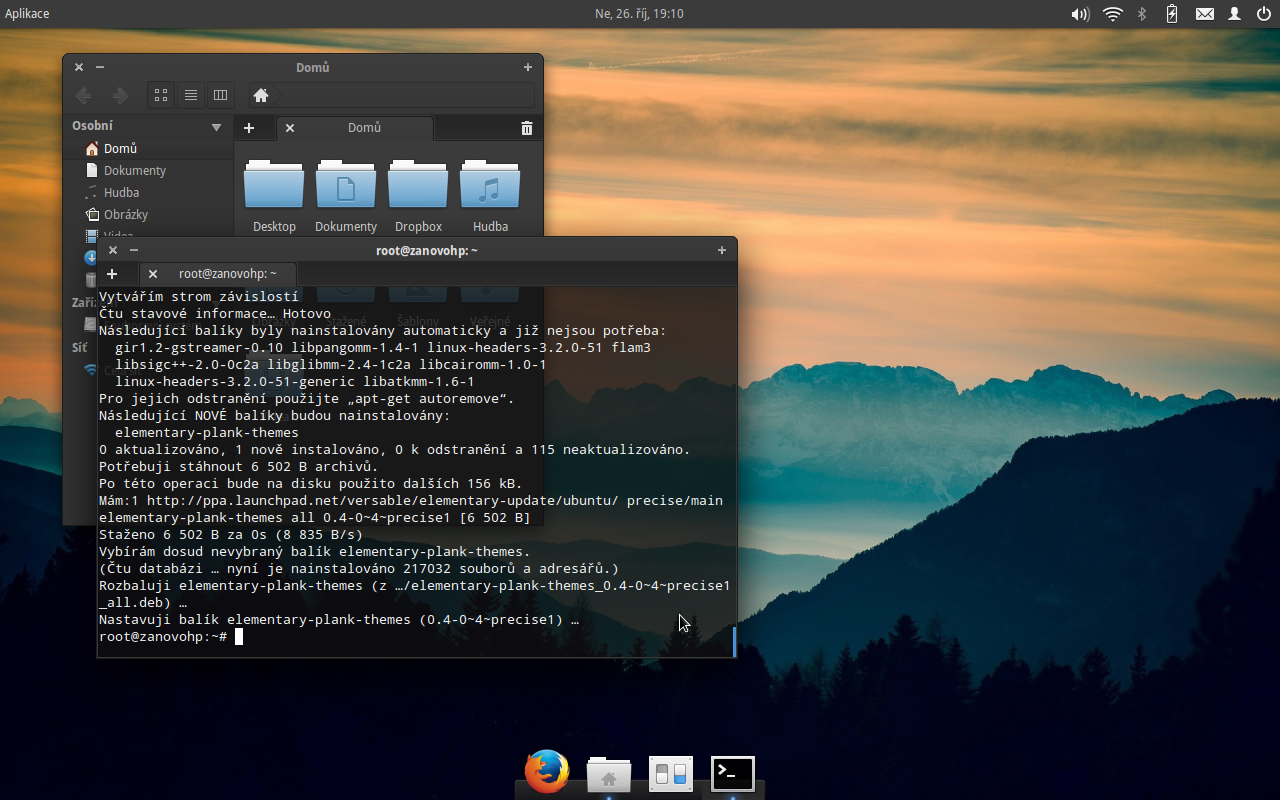
Some time ago I decided I want to use dark GUI wherever possible, main reason being the fact that “white on black” causes much less strain of the eyes than the other way round. This post contains references to all the different guides, dark themes, software or other related tips I encountered and found useful in some way.
It may look like a lot of work, but if you spend a lot of time on the computer and care about your health, it is definitely worth it.
I provide guides for the two linux distributions I use, but they might be useful also for another Ubuntu-based distros. Continue reading Guide to dark GUI in elementaryOS and Lubuntu

